
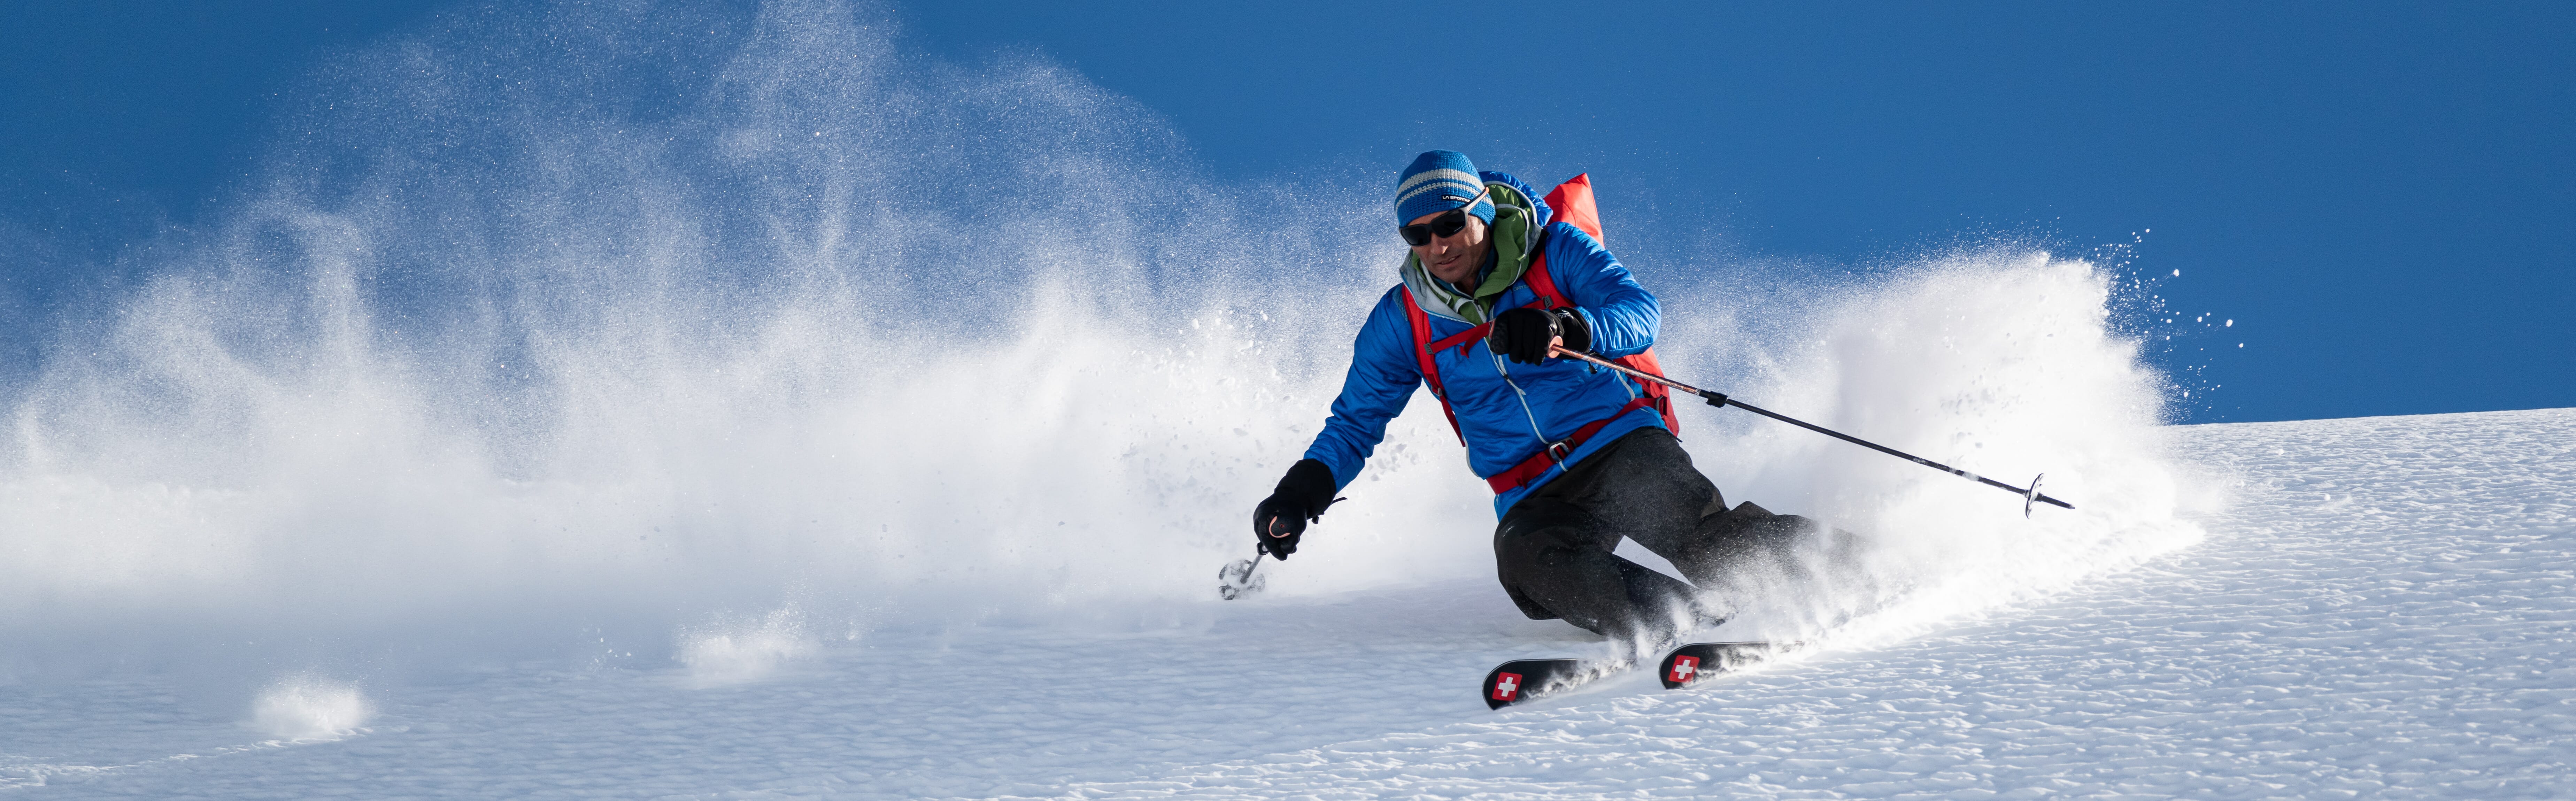
10 Ski-Skin Tips
for enjoyable ski tours

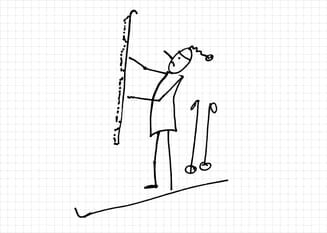
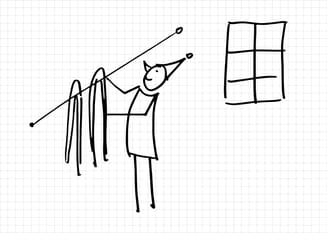
TIP 01 - Attachment
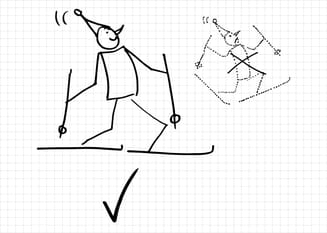
TIP 02 - Walking Technique
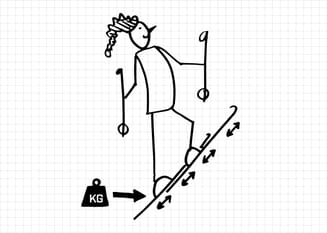
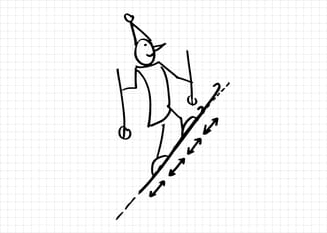
TIP 03 - Sliding
TIP 04 - Stride Length
TIP 05 - Snow Build-Up
TIP 06 - Short Descents

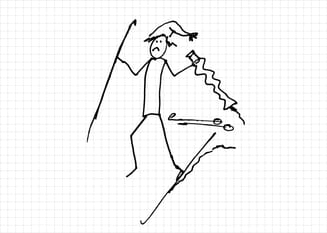
TIP 07 - Detachment
TIP 08 - Repeated Attachments and Detachments
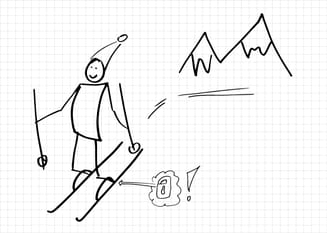
TIP 09 - Skin Adhesion Fails
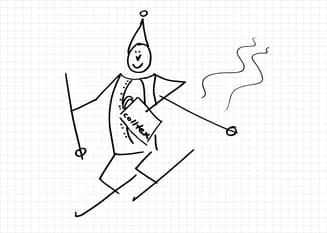
TIP 10 - Care and Maintenance
Buchholzstrasse 46
8750 Glarus
Schweiz


DE, AT, FR, IT:
Colltex AG
c/o SG Spedition GmbH
Hauptstrasse 99
DE-78244 Gottmadingen
Deutschland
Germany: colltex.de
Austria: colltex.at
France: colltex.fr
Italy: colltex.it